From Concept to Cinematic Video: The Power of Full Stack AI in Video Generation
Full Stack AI is an end-to-end artificial intelligence platform designed to help businesses and teams deploy, manage, and leverage AI across real-world, diverse contexts. It spans the entire value chain — from high-performance GPU infrastructure to specialized AI models, orchestration tools, customizable workflows, and business interfaces — all within a private, sovereign environment.
This approach enables a wide variety of use cases: augmented business assistants, retrieval-augmented generation (RAG), process automation, content creation and analysis, or advanced visual production. Full Stack AI is not limited to a single format or domain; it adapts to the specific needs of each organization while providing high levels of control, security, and computational power.
Video creation is one example of what this comprehensive stack can achieve. Applied to the media industry, it showcases the platform’s ability to orchestrate complex workflows that require precision, visual consistency, and high computational power — all while ensuring full ownership and copyright over your productions.
In this guide, we focus on this particular use case — video — through a concrete example. You’ll see how to leverage the Full Stack AI platform to run a complete workflow for producing a cinematic short film, combining Flux Kontext for character consistency and WAN 2.2 for motion, all accelerated by a private Nvidia H200 GPU cluster.
The 10-minute video tutorial shows exactly how to go from a blank page to a stunning 4K cinematic render.
📺 Watch the Workflow in Action
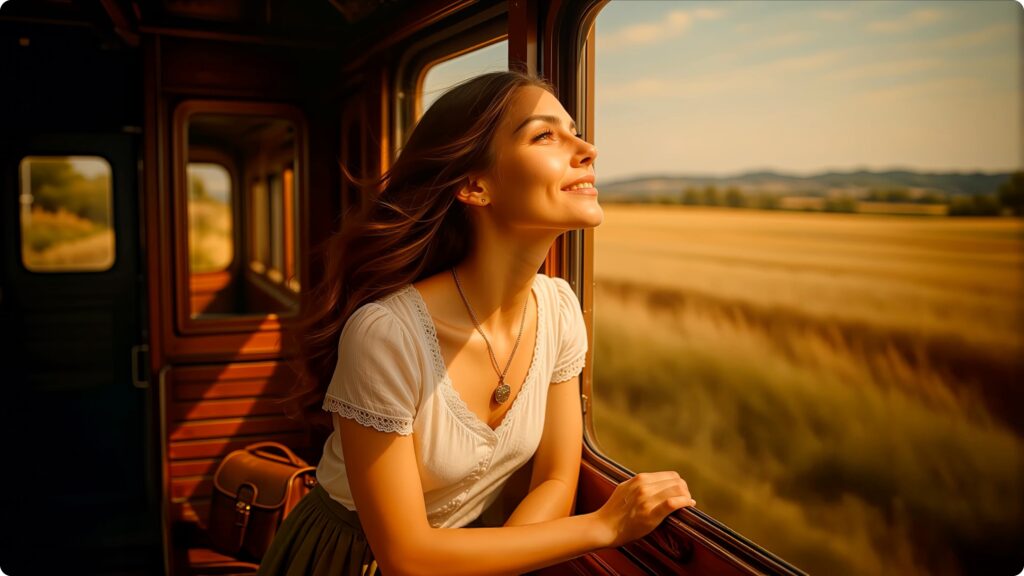
See how we created the short film « Countryside Train Ride » using the Full Stack AI platform running on enterprise-grade GPU clusters.
The 5-Step Technical Workflow
This tutorial breaks down the methodology used to create a professional short film without a camera crew, actors, or a set.
Step 1: Structuring the Blueprint (Chat Module)
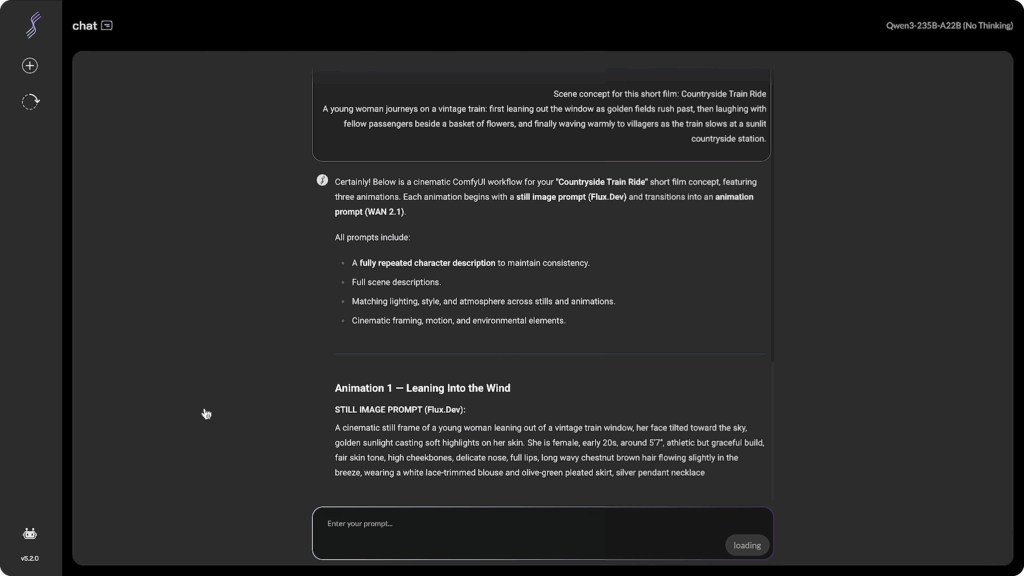
Every video starts with a structured prompt. We utilize the platform’s Chat module (integrated with RAG and web search capabilities) to brainstorm and refine the script.
The Strategy: We instruct the AI to generate a scene description that includes specific details on lighting (« golden hour, » « volumetric lighting »), camera setup (« 35mm lens, » « bokeh »), and environment.
The Key to Consistency: We ensure the prompt for every scene contains the exact same character description block. This text acts as the « DNA » of the film, ensuring the protagonist doesn’t change appearance—hair color, clothing, or facial features—between shots.
🦎Iguana Tip: Create a « Character Card. » Before writing your scenes, define a 50-word description of your character (e.g., « A young woman, 20s, olive skin, wavy brown hair, wearing a vintage white blouse »). Copy and paste this exact block into every single prompt. Never rely on the AI’s memory; explicit repetition is the only way to guarantee consistency.
Step 2: Generating « First Frames » with Flux Kontext
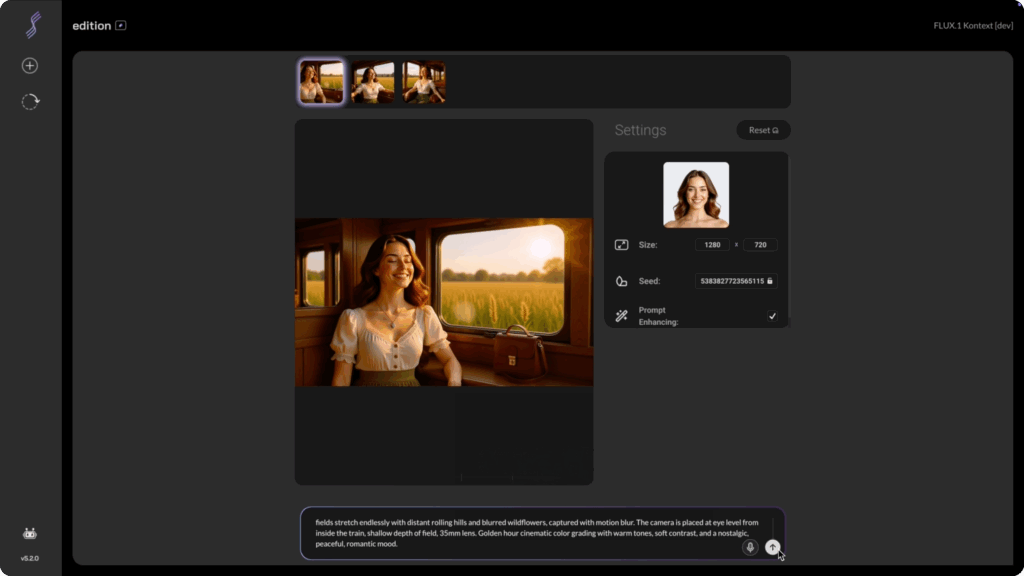
Before animating, we must create high-fidelity reference images. These « First Frames » dictate the visual style, composition, and color palette of the video.
The Tool: We use the Flux Kontext model within the Full Stack AI image generator.
The Process: We input our text prompt and upload a reference image of our character. Flux Kontext is exceptionally good at maintaining character identity across different scenarios, blending the prompt’s action with the reference’s features.
Infrastructure Advantage: Running on Nvidia H200 GPUs, generations take seconds. Unlike public SaaS tools, the Full Stack AI platform does not use a « credit system. » You can iterate 50 or 100 times until the lighting and composition are perfect, without worrying about cost per generation.
🦎 Iguana Tip: Generate in Batches. Don’t settle for the first image. Even with the best prompt, AI can struggle with small details like hands or eye alignment. Generate batches of 4 images at a time. Pick the one with the cleanest composition and correct anatomy, as any flaw in the image will be magnified once animated.
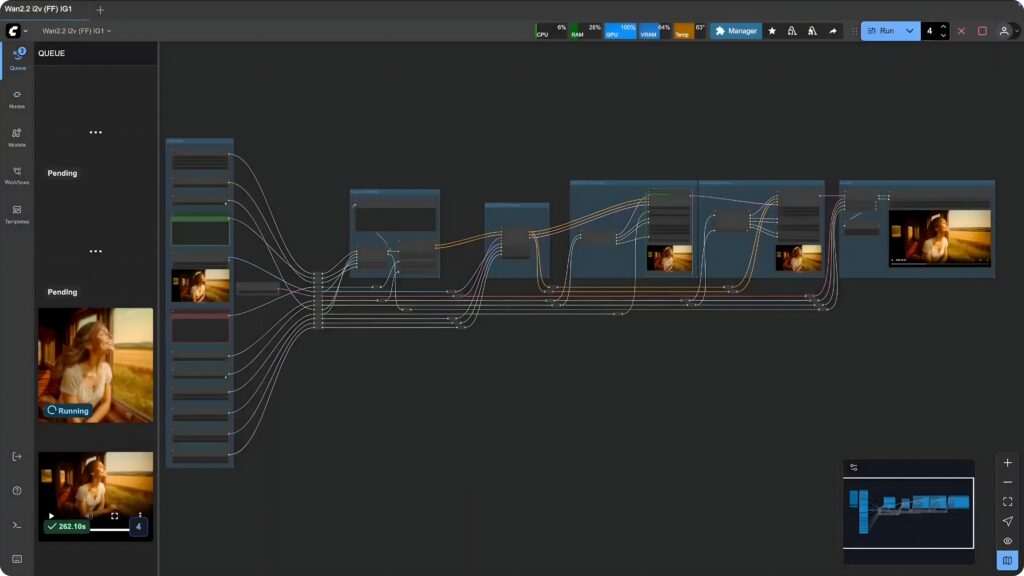
Step 3: Video Synthesis (ComfyUI & WAN 2.2)
Once we have our keyframes (First Frames), we move to ComfyUI, the node-based interface pre-installed on the platform.
The Model: We use a custom WAN 2.2 template designed by our team. WAN 2.2 is currently a state-of-the-art model for generating realistic motion and understanding physics.
Configuration:
Input: The « First Frame » image + the descriptive prompt.
Frame Rate: WAN 2.2 performs best at 16 fps.
Duration: To get a 10-second clip, we set the generation to 161 frames.
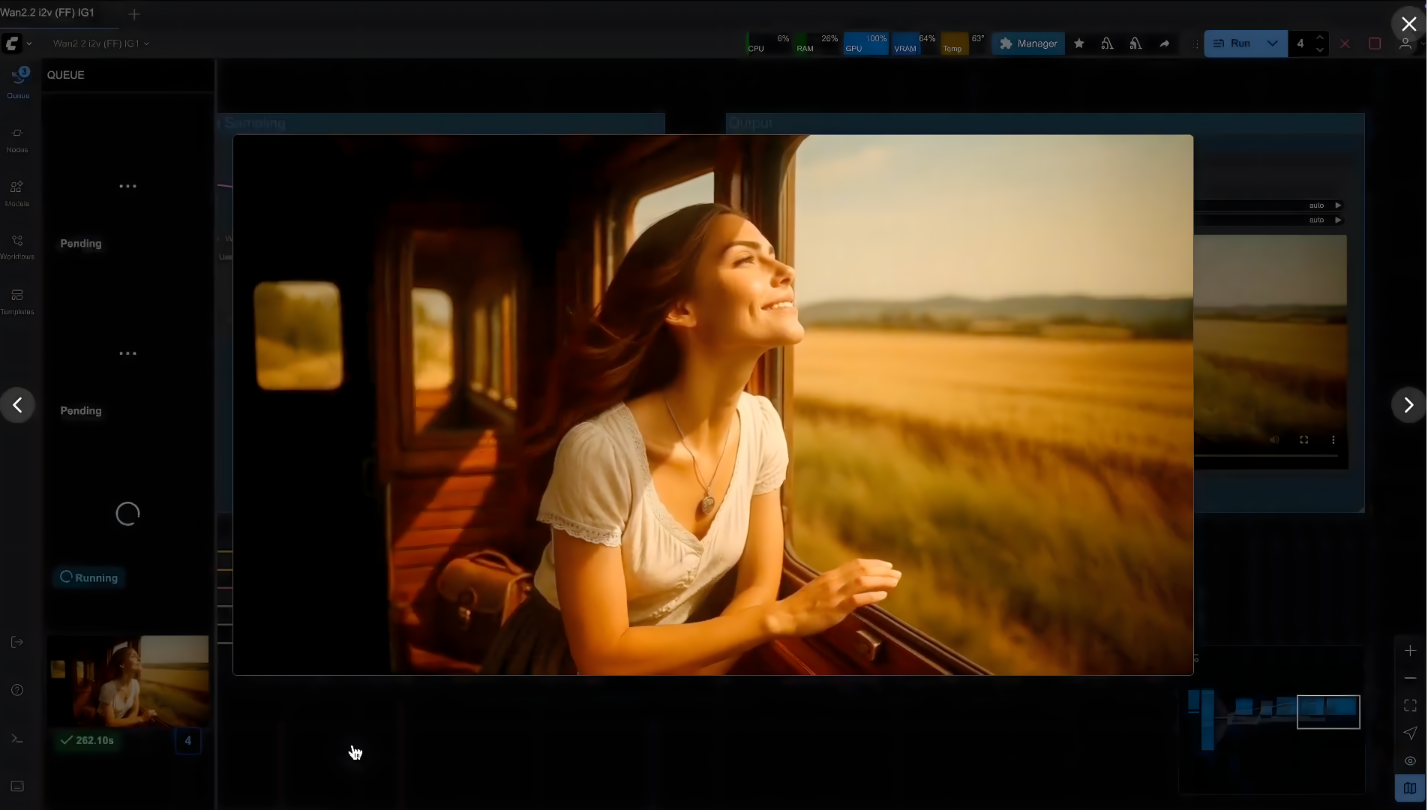
Execution: We launch the render. The platform handles the heavy lifting, processing the temporal consistency required to make the train move and the character wave naturally.
🦎 Iguana Tip: Keep Movement Prompts Simple. When prompting for video, less is often more. Instead of « She runs, jumps, and then dances, » try « Slow cinematic push-in, hair blowing in the wind. » Overloading the prompt with too many actions can confuse the model and cause artifacts (glitches). Let the « First Frame » set the scene, and let the prompt guide the atmosphere.
Step 4: Upscaling and Frame Interpolation
The raw output from Step 3 is a 720p video at 16fps. For a cinematic broadcast standard, this is insufficient. This step is where high-performance compute is non-negotiable.
The Workflow: We load a secondary ComfyUI template dedicated to Upscaling.
Resolution: The AI reconstructs missing details to upscale from 720p to 4K, sharpening edges and refining textures.
Smoothness: Simultaneously, the system interpolates frames to boost the video from 16fps to 60fps, eliminating the « stuttery » look of raw AI video.
Performance: This process is computationally expensive. On a standard consumer GPU, this could take hours. On the Full Stack AI platform’s H200 cluster, the high-speed inference delivers a sharp, fluid result in minutes.
🦎 Iguana Tip: Don’t Over-Sharpen. In the upscaling settings, avoid maxing out the « denoising » or « sharpness » strength. Too much sharpness can make the video look « crispy » and artificial. Aim for a value around 0.3 to 0.5 to maintain a film-like grain and natural softness.
Step 5: Final Post-Production
The final step bridges the gap between AI generation and traditional filmmaking.
-
Editing: We assemble the clips in standard editing software (like Premiere Pro or DaVinci Resolve).
-
Color Grading: We apply a grade to unify the tones of the different AI-generated clips, giving them a cohesive mood.
-
Time Remapping: Because we upscaled to 60fps, we can apply smooth slow-motion effects (slowing down to 50% speed) to create a dreamlike atmosphere without stuttering.
🦎 Iguana Tip: Sound is 50% of the Magic. AI video often comes out silent. To sell the realism, layer your audio: add a background ambience track (wind, train rumble), specific sound effects (fabric rustling, birds chirping), and an emotional musical score. Great sound design can make even a simple AI clip feel like a blockbuster movie.
Why Infrastructure Matters for AI Video
What you’ve seen is not just a creative feat; it’s an infrastructure achievement.
In 2025, the barrier to entry isn’t creativity—it’s compute power. Running complex workflows combining Flux and WAN 2.2 requires an environment that is private, secure, and incredibly fast.
The Full Stack AI platform provides exactly that: a private Gen AI environment that allows businesses and creators to produce unlimited professional-grade assets without the bottlenecks of public clouds or consumer hardware.
Ready to deploy your own private Gen AI environment? Discover how Iguane Solutions can power your creative workflows with high-performance GPU clusters.
Explore Full Stack AI Solutions : https://www.ig1.com/genai/
👉 Find all the videos of our events and client testimonials on our YouTube channel.
